How to Paint Wood Paneling: A Comprehensive Guide
June 19, 2023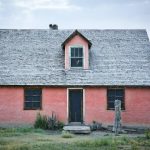
Understanding If and Why Dark Exterior Paint Fades Over Time
July 24, 2023
What do I need to paint my house exterior? This is a common question many homeowners grapple with when embarking on an exterior house painting project. The answer lies in careful exterior paint preparation, choosing the right tools, and mastering key exterior house painting techniques.
In this comprehensive guide, we will explore what a top-quality exterior paint job requires. We’ll discuss how to choose the best paints for your home’s exterior and how to prepare surfaces properly – from removing loose paint to dealing with lead-based paint often found in homes built before 1978.
We’ll also delve into essential tools you may need, such as clean 1-gallon paint cans or power sprayers, and provide techniques for protecting surrounding areas during your project. Lastly, we will cover the correct order of application and cleanup methods after completing your task.
So if you’re still wondering, “what do I need to paint my house exterior?” stay tuned as we unpack these critical steps one by one.
Table of Contents:
- Choose the Right Paint
- Prepare the Surface
- Select the Right Tools for the Job
- Protect Surrounding Areas
- Apply Primer
- Paint in the Right Order
- Clean Up Thoroughly
- FAQs in Relation to What Do I Need to Paint My House Exterior
- Conclusion
1. Choose the Right Paint
Choosing the right paint is crucial for a fabulous exterior. Don’t skimp on quality – go for exterior-grade paint that can handle Mother Nature’s tantrums. It’s like armor for your home.
Don’t forget the finish. Gloss for a shiny statement, semi-gloss for a touch of shine, satin or eggshell for a subtle sheen, and flat or matte for a no-shine hiding act. Choose wisely, my friend.
Oil-based or water-based? Latex dries faster. Oil gives smoother coverage. And hey, let’s be eco-friendly with low-VOC paints. Good for the air we breathe and the planet we love.
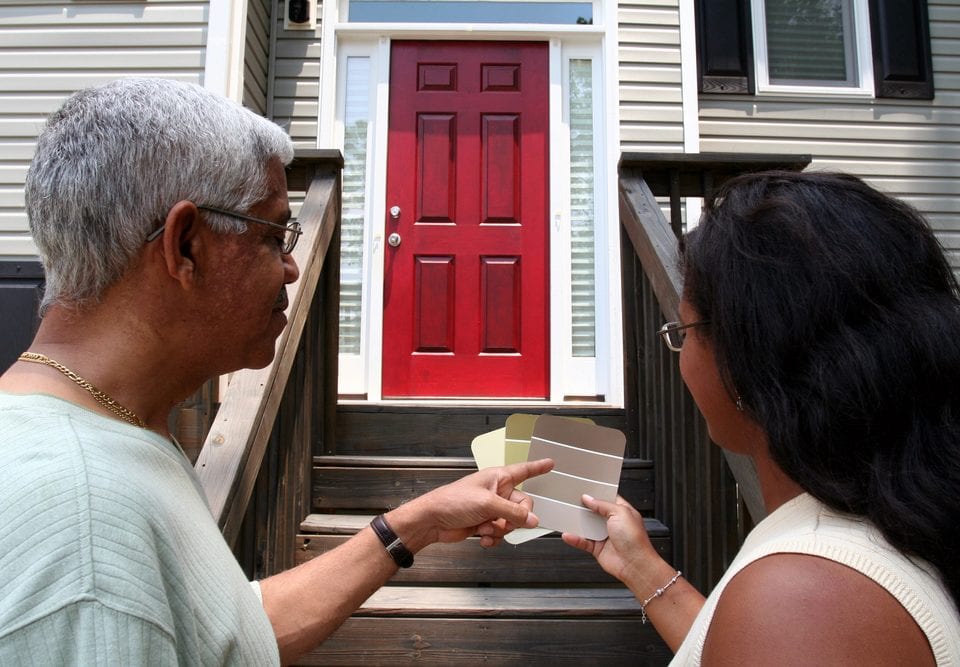
Oh, and color. Pick shades that make your home pop, but check those pesky HOA rules first. No one wants a paint police showdown.
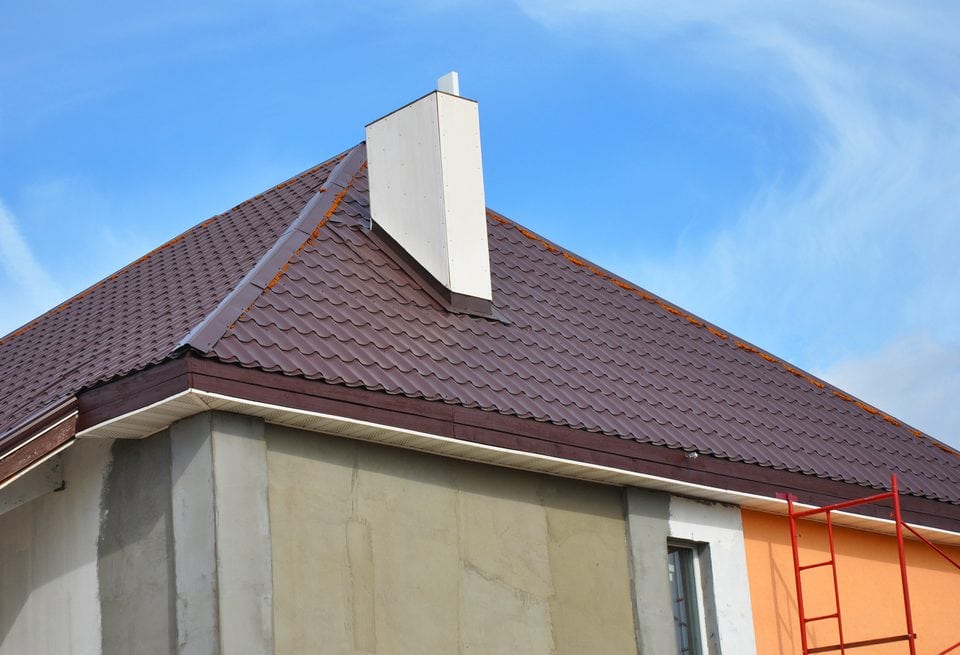
2. Prepare the Surface
The success of your exterior painting project depends on prepping the surface like a boss. A clean, smooth surface ensures the paint sticks and gives you a polished finish.
Blast away dirt and grime with a power washer or hose with a brush attachment. Say goodbye to loose particles that mess with paint adhesion. For stubborn stains, bring out the big guns with a specialized paint preparation cleaner.
If you spot peeling or chipped paint, scrape it off like a pro before slapping on new paint. Use a putty knife or wire brush, but be gentle to avoid damaging the woodwork underneath.
- Sanding: Smooth out rough spots by sanding them down. It’s like giving your surface a spa treatment.
- Filling gaps: Fill cracks and holes with caulk so your paint job looks flawless. Let it dry completely before moving on.
- Mold and mildew treatment: In damp climates like Portland, Oregon, mold and mildew can be party crashers on your home’s exterior. Show them who’s boss by treating those areas before painting. To ensure a successful project, proper preparation is essential and should not be rushed.
Preparation may take time, but skipping it leads to poor results and more work later. So don’t rush this phase of your exterior house painting project.
Note: Safety First.
When dealing with old paints, always prioritize safety. Put on hand protection, face covering, and eye coverings to shield yourself from possible damage, particularly with lead-based paints utilized in more seasoned homes. Learn about safe practices here.
3. Select the Right Tools for the Job
Painting your house exterior? Don’t underestimate the power of good tools. High-quality brushes, rollers, and other gear are essential for achieving a professional result when painting the outside of your house.
First things first, choose the right brush. For oil-based paints, go for natural bristle brushes. If you’re using latex paints, opt for synthetic brushes that can handle water like a champ. Need help to pick the perfect paintbrush? Check out this handy guide.
Rollers are your best friend when it comes to covering large areas quickly. Remember, the texture of your surface matters. Smoother surfaces call for shorter nap lengths, while rougher ones need longer naps.
- Small Rollers: Perfect for tight spaces and window frames.
- Middle-sized Rollers: Great for walls and ceilings.
- Larger Rollers: Ideal for big areas like siding or stucco exteriors.
If you’re tackling a massive project, consider using a sprayer to speed things up. Just keep in mind that sprayers require more cleanup. Want to learn how to use a spray gun like a pro? Check out this comprehensive guide.
Don’t neglect the other equipment needed to get the job done. Ladders for reaching new heights, drop cloths to protect your surroundings, painter’s tape for clean lines, and paint trays to hold your colors. And remember, a sturdy ladder is a must-have. You don’t want it wobbling around like a wacky inflatable tube, man.
In a nutshell: Choose your tools wisely, and your painting project will be a masterpiece from start to finish.
4. Protect Surrounding Areas
Before you start painting, shield your surroundings like a superhero. Cover plants, outdoor furniture, and anything near the work area with plastic or drop cloths. Don’t let paint splatter ruin your beautiful landscaping or expensive patio furniture.
Don’t overlook this step; it’s like forgetting to wear a cape. Properly protecting your stuff during painting is essential. You can find drop cloths and plastic sheetings at local hardware stores or online retailers. They’re economical and can help you save time and resources in the long haul.
- Tarps: Heavy-duty tarps are like shields for larger items like grills or outdoor furniture sets.
- Drop Cloths: Use drop cloths to cover smaller items and protect grassy areas or flower beds near your home’s walls.
- Painter’s Tape: Stick painter’s tape along windows, doors, and trim for sharp lines and no unwanted drips on surfaces not meant to be painted.
Protecting your belongings from paint splatters also makes cleanup a breeze. Remember: preparation is the secret to achieving professional-looking results when painting your house.
If all this sounds overwhelming – don’t worry. At ESP Painting, we’ve got you covered. We take care of everything, including thorough prep work, so all you have to do is sit back and enjoy your newly painted home.
5. Apply Primer
For a paint job that appears to have been expertly done, begin with primer. Start with a primer. It’s the foundation for your exterior paint, making it stick and last longer.
Primer is a must for bare wood or metal surfaces. It seals the surface, creating a smooth base for your topcoat to shine.
- Bare Wood: Got unpainted wood? Use an oil-based primer to seal knots and resins that could ruin your topcoat.
- Metal Surfaces: Iron or steel? Go for a rust-inhibitive primer to keep corrosion at bay.
Covering up old colors or stains? Use a stain-blocking primer. It saves you time and effort by preventing old stains from showing through.
But don’t rush. Properly prepping your exterior with primer is what separates amateurs from experts like us at ESP Painting.
Priming not only enhances adhesion and endurance but also safeguards against the effects of weather. That’s why it’s a crucial part of our process at ESP Painting in Portland, Oregon.
Tips for Applying Primer:
- Clean Surface: Get rid of dirt and dust before applying primer. Adhesion is key.
- Dry Surface: Make sure there’s no moisture. Water and primer don’t mix.
- Sand Smooth: Smooth out rough spots for a flawless finish. Your paint will thank you later.
6. Paint in the Right Order
When painting your house exterior, the order matters. Start with the trim work because it requires precision. Then move on to the siding, working from top to bottom to avoid streaks. Finally, paint the doors and windows, giving them the attention they deserve.
- Trim Work: Start here for precise detailing.
- Siding: Work from top to bottom to avoid streaks.
- Doors & Windows: Give them the attention they deserve.
This methodical approach ensures a professional finish worthy of any professional residential painter.
7. Clean Up Thoroughly
Thoroughly tidying up after a painting task is just as significant as the actual painting. Don’t be a lazy painter, tidy up properly.
First, carefully remove any painter’s tape without taking the fresh paint with it. No peeling allowed.
Next, gather up all the plastic sheeting and drop cloths. If they’re covered in dried paint, toss ’em out. No need to be a hoarder.
Now it’s time to clean those brushes and rollers. Warm water for latex paints, mineral spirits for oil-based paints. Get ’em squeaky clean.
If you’ve got spills or splatters where they shouldn’t be, scrub ’em away with a brush and some soapy water. No evidence was left behind.
Last but not least, dispose of leftover paint responsibly. Don’t just dump it down the drain. Find a recycling center near you and be a planet-saving hero.
Tips:
- Invest in quality tools to make cleaning easier next time. Take good care of them so they’ll endure. Plus, store leftover paint in sealed containers to keep it fresh.
- Put safety first. Wear gloves when dealing with harsh chemicals and make sure there’s proper ventilation. We don’t want any paint-fume-induced hallucinations.
FAQs in Relation to What Do I Need to Paint My House Exterior
What supplies do I need to paint the exterior of my house?
To paint your house’s exterior, you’ll need high-quality brushes, rollers, a sturdy ladder, painter’s tape, drop cloths, sandpaper for surface preparation, and of course, top-notch exterior paint.
What should I paint first on the outside of my house?
Start by painting the trim first, then move on to the siding, and finally, give some love to the doors and windows (they deserve it).
How much paint do I need for a 2000 square foot house exterior?
A rough estimate is that you’ll need about 10-12 gallons of exterior paint (but don’t worry, you won’t have to count each drop).
Can I paint the exterior of my house myself?
You certainly can. But remember, it requires time, patience, and a touch of skill (and maybe a few YouTube tutorials).
Conclusion
In conclusion, when it comes to painting your house exterior, here are some key steps and considerations:
First, choose the right paint that can handle the great outdoors and won’t bail on you during a rainstorm.
Second, prep the surface like a boss by cleaning, fixing any damages, and slapping on a primer if needed.
Third, grab the right tools, whether it’s brushes, rollers, or sprayers, to make your house look like a masterpiece.
Fourth, protect your windows, doors, plants, and furniture like a bodyguard with drop cloths or plastic sheets.
Fifth, prime the pump by applying a coat of primer before painting to make your colors pop and stick.
Sixth, paint like a pro by starting from the top, working in sections, and letting each coat dry before adding more.
Last but not least, clean up like a champ by washing your brushes and disposing of leftover materials responsibly.
By following these steps and having the right materials, you can give your house exterior a fresh new look. Now go forth and paint like Picasso!

Jeff Sommers is a vibrant and experienced professional, having been at the helm of ESP Painting, Inc. for 27 remarkable years. As President, he has become an esteemed leader in the Commercial & Residential Construction industry in Oregon, United States. His experience has seen him gain valuable insight and knowledge, making him an invaluable asset to ESP Painting and its customers. With a bubbly personality and upbeat attitude, Jeff always looks ahead to the future as he continues his leadership journey toward success.

